Share On
Previously, we shared a comprehensive step-by-step guide detailing how to complete Avive KYC Verification Phase 1. In this blog post, we aim to provide clear and concise instructions on how to complete your Avive KYC Verification Phase 2.
Avive Token unlocking structure based on different KYC scores
Avive is making sure everything is safe and secure with Phase 2 of KYC verification. This helps stop tricky attacks and makes things more secure. You’ll get tokens through airdrop, and you can choose to get them in your wallet or OKX UID. The number of tokens you get depends on your KYC Phase 2 score, figured out using a Remarkable method. Here’s a simple outline of how it works:
Score ≥ 90
- Initial Unlock: 30% of tokens.
- Remaining Unlock: 70% released monthly over 18 months.
- For 30% of claimable tokens, half airdropped before listing and the other half within 5 days after listing.
Score 80–89
- Initial Unlock: 22.5% of tokens.
- Remaining Unlock: 77.5% released monthly over 22 months.
- For 22.5% of claimable tokens, half airdropped before listing and the other half within 5 days after listing.
Score 70–79
- Initial Unlock: 15% of tokens.
- Remaining Unlock: 85% released monthly over 26 months.
- 15% of claimable tokens airdropped within 5 days after listing.
Score 60–69
- Initial Unlock 7.5% of tokens.
- Remaining Unlock: 92.5% released monthly over 30 months.
- 7.5% of claimable tokens airdropped within 5 days after listing.
Additionally, there will be another token-claiming round starting approximately 60 days later. Maintaining compliance with KYC is crucial for maximizing benefits during this subsequent round.
A Step-by-Step Guide to Completing Avive KYC Verification Phase 2
To proceed with Avive KYC Verification Phase 2, ensure you’ve completed Phase 1 if not, click here to complete Avive KYC Verification Phase 1
Steps
Step 1: Launch the Avive Mining App
Open the Avive Mining app on your device.
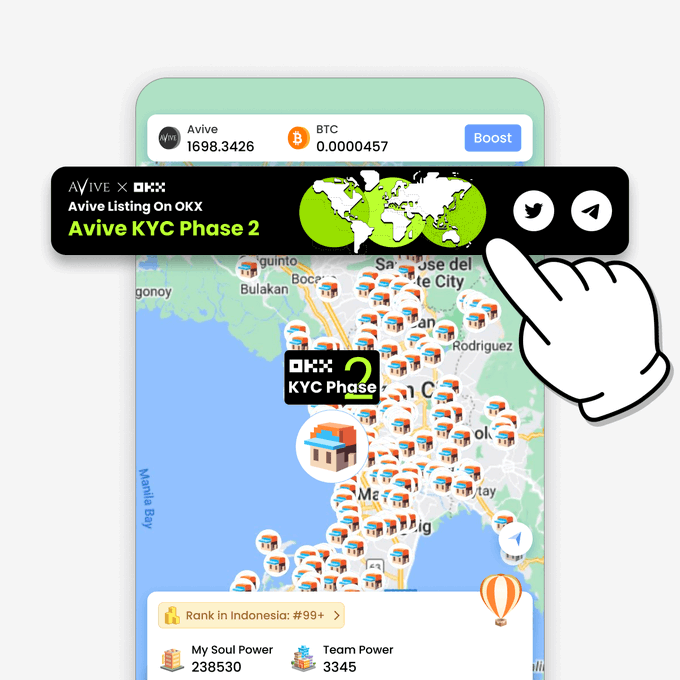
Step 2: Navigate to KYC Phase 2
- From your homepage, locate the slider or access the event tab.

- Find and select “Avive KYC Phase 2” from the options.
- Next, you’ll encounter an empty box prompting your Arbitrum One wallet address.
Step 3: Enter Your Arbitrum One Wallet Address
- Access your OKX wallet to copy your Arbitrum One wallet address.
Note: only wallet address, pls don’t paste exchange wallet address
- Return to the Avive Mining app and paste your Arbitrum One wallet address into the provided box.

NOTE: You can paste either your Arbitrum One Wallet address or your Avive Wallet address. both are the same address. Click here for how to add Avive Token to your OKX wallet
Step 4: choose how to receive Airdrop
After entering your arbitrum one wallet for token claim which is number 1, on number 2 which says “choose how to receive Airdrop” we advice you choose OKX UID
Reasons we suggest choosing OKX UID for Airdrop Distributions
1. using wallet to claim Airdrop attracts a 5% fee while choosing OKX UID doesn’t
2. If you choose wallet, after the airdrop is received and you wants to transfer it to exchange to in other to sell or trade it, you will be charged arbitrum one as gas fee but if you choose OKX UID you can easily convert your avive token to usdt or fiat without any gas fee
Step 5: Submit
- Click on the “Apply” button to proceed.
Completing these steps accurately ensures your KYC Verification Phase 2 submission is successfully processed. Your KYC score will be generated upon completion.
Understanding Avive Token Distribution Percentage According to KYC Score
For more Crypto Mining updates click here to Join Our Whatsapp Channels
FAQ
The designated address required for Avive KYC Phase 2 submission is your Arbitrum One address, obtainable by copying it directly from your OKX wallet. Please ensure to copy it from your wallet address, refraining from using the exchange address for this submission.
Discover more from Realwinner Tips
Subscribe to get the latest posts sent to your email.